in this diy example i used succulent clippings from my garden. when giving the little egglings i like to include a little note that tells the story of the mother plant... but of course your note is up to you... perhaps your plant speaks the language of love and will woe the recipient with a poem (i like to make almost all occasions or gifts romantic - plants always win my heart!).
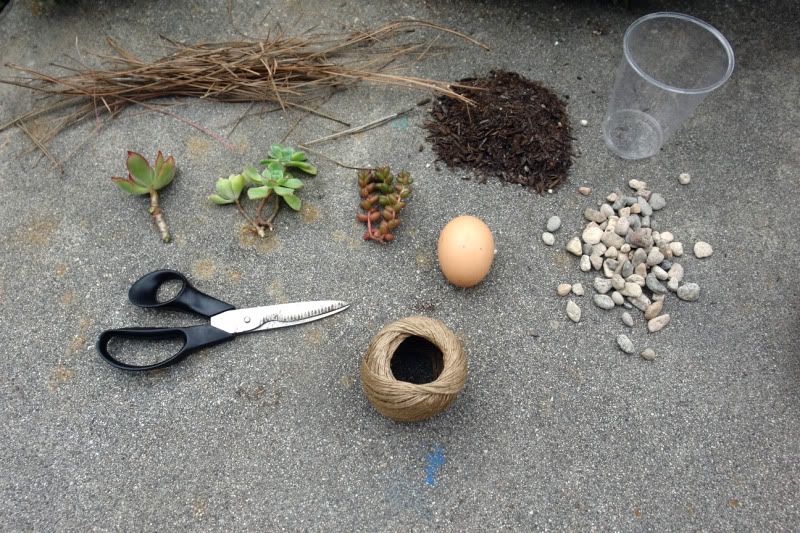
the materials...
- soil (if working with succulents use a cactus / palms mix and for vegi or other - use an organic potting soil)
- pea gravel (tiny rocks - make sure they are clean and dry!)
- egg(s) - cage free or homegrown is best
- scissors
- pine needles or long blades of grass
- twine or kite string
- plants: succulent clippings, sprout, seedlings...
- a bowl or cup (for yoke and to keep those eggs safe and not rolling about)
- paper towels
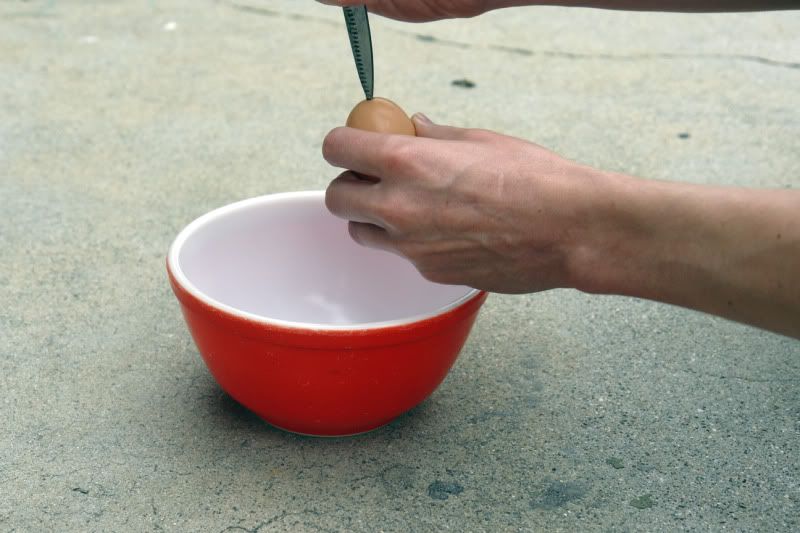
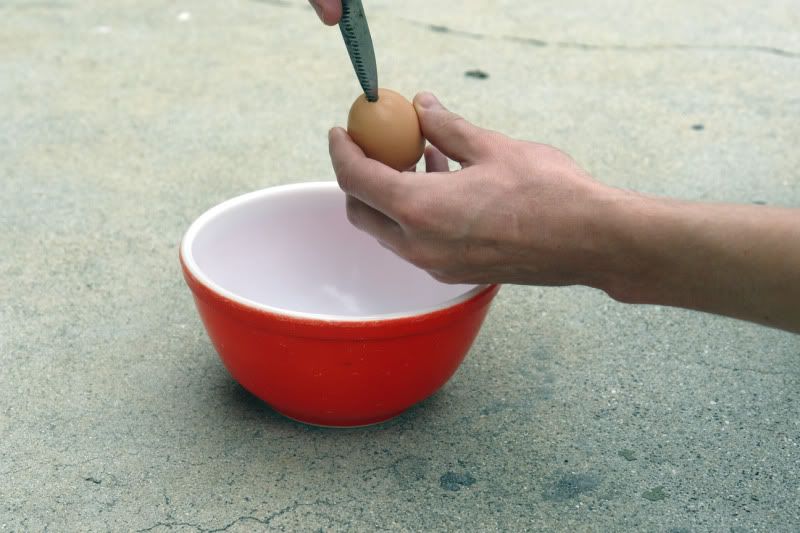
delicatly and very carefully using a sharp object, such as the tip of scissors puncture the top of the egg (the pointed part). start with a small hole, opening it up slowly till it has enough room to fit your finger plus a little extra room. be very gentle during this process and be prepared with a bowl underneath your hands.
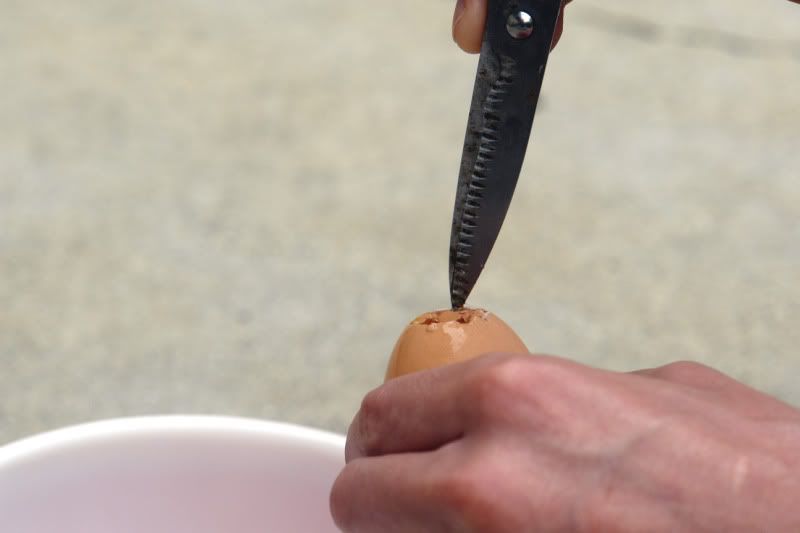
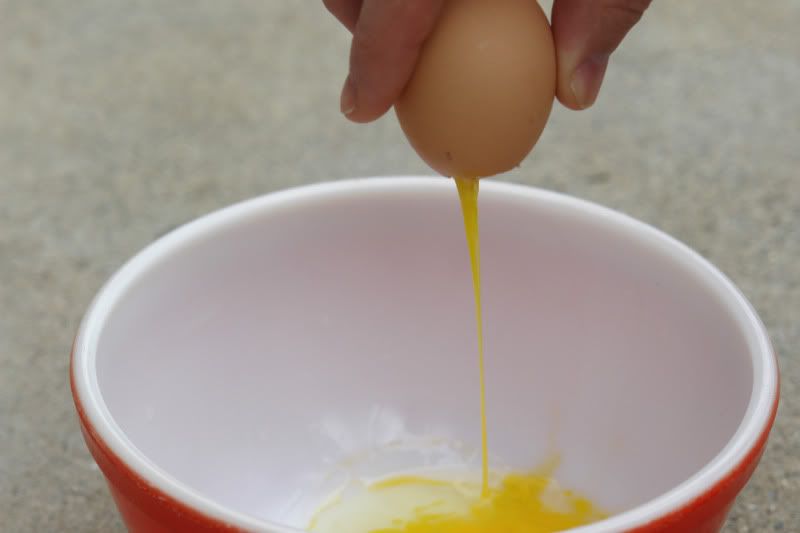
pour all the insides of the egg into your bowl. you may need to poke at the yoke to get it sliding out faster.
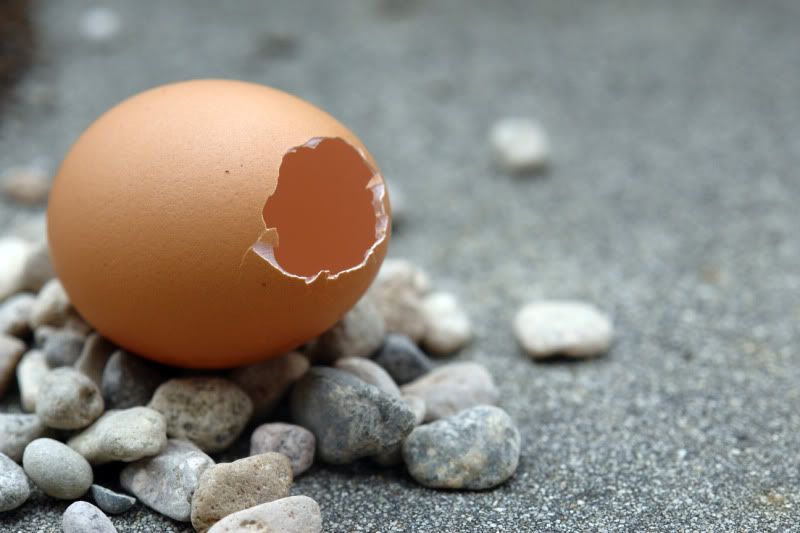
once the egg is empty, clean it out with water in the sink. again be very careful - they are fragile!
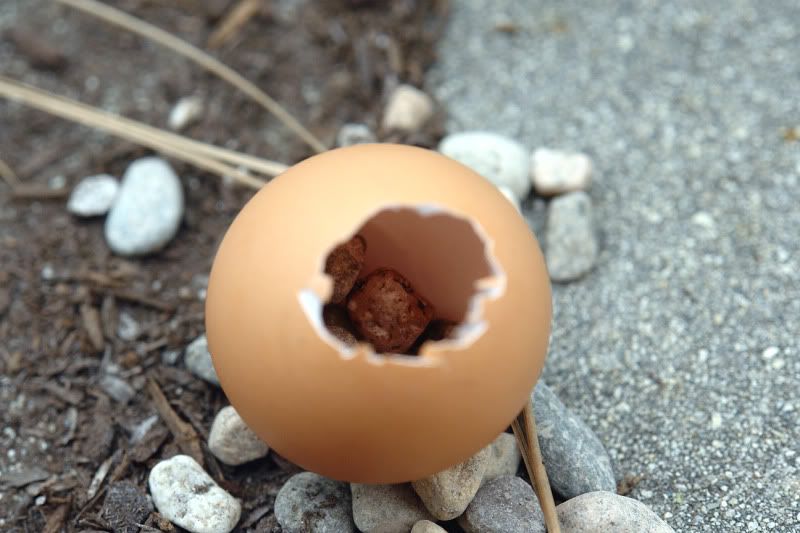
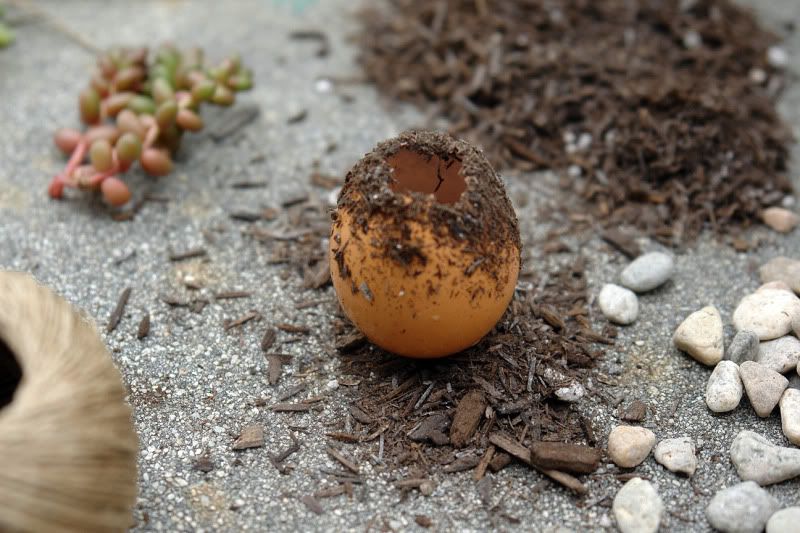
when your egg is in the clear begin to place (one by one) the small rocks into the base of the egg. about 5 or 7 tiny ones should do. this will act as your water drainage system. after your rocks are in, add the soil, when your soil is more than half way in, add your clipping (if you have a sprout you may need to place it in sooner). add more soil, place a few more small rocks to position and support your plant. at this point you may need to place your egg(s) into a bowl or cup so that they don't roll all over and get all humpty dumpty on you!
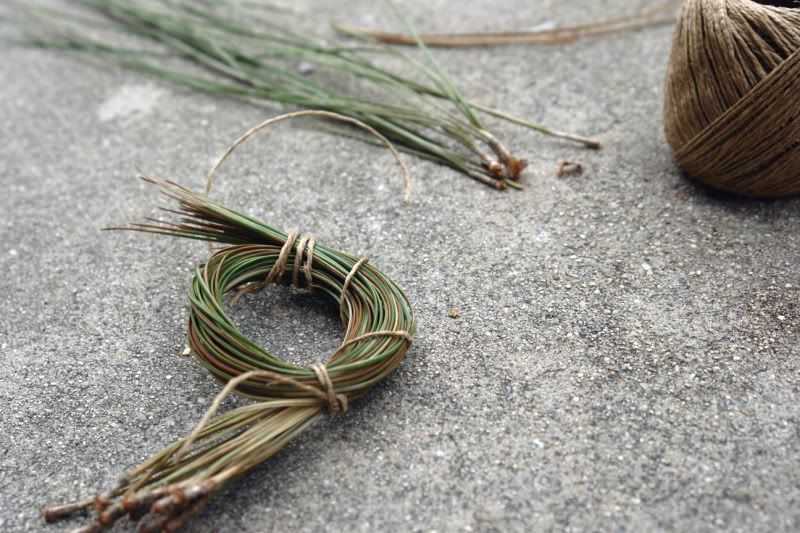
next step - nests! every egg needs a nest, naturally! these nests will not only be the finishing touch to your display, but all serve a purpose - they keep your egg sitting up! take a bundle of pines (from your garden or local park) or long grass blades and with your twine tie they together at one end, then curve them into a circular form that is small enough to hold your egg in place (the tighter the better). you can then twist your twine all around the curve, keeping the form of the "nest". how many knots or how tight your nest turns out is really up to you. it can be organic and wild or more like a stiff wreath. you are the bird building YOUR nest! up to you!
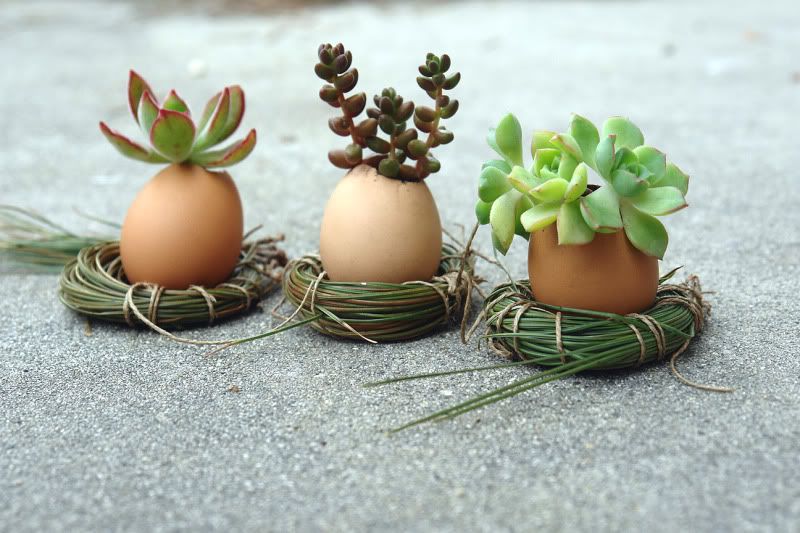
and voila! egggy-planty art! enjoy!
pssst... birdies, if you decide to make some of these and take photos, i'd love to see your projects!


So sweet- far better than chocolate! x
ReplyDeleteVery cute! I have a fun little easter project that I'm about to post.
ReplyDeleteThat is so cool! And such a great idea!
ReplyDeleteAnd you gave the best imagery instruction! :)
how pretty!
ReplyDeleteEggselent!
ReplyDeleteoh my god, bianca. this is awesomely simple in that, "Why didn't I think of that??" kind of way. officially envious and leaving the house to buy eggs.
ReplyDeleteOh wow Bianca tes are so amazing! You are one talented lady! Happy Easter lovely!! Lou xx
ReplyDeleteYou're brilliant Bianca, I love this idea.
ReplyDeletei rec'd one of these tasty treats from my very own ms B
ReplyDeleteeveryone loved it
grazie ms v egg love p
Could you be anymore talented?
ReplyDeleteWhoa! What a neat idea!
ReplyDeletesuper thanks for the sweet words. i wish i could see your eggy projects too! i am sure they would be super!
ReplyDeleteso rad Bianca!
ReplyDelete